Life is Strange: Double Exposure is a newly released Episodic Single-player video game for PS5, Xbox Series, and Windows, as well as Windows. It serves as the fourth entry in the series of Life Is Strange, serving as the direct sequel to the game released in 2015. The story revolves around a character who discovers supernatural abilities letting her travel between two different timezones.
So, she decided to go back in time to investigate a murder case involving her new best friend. Five chapters have been added to make the game a bit long and each has varied objectives to achieve. We’ve compiled a guide to help you understand how to solve puzzles using our Life is Strange: Double Exposure Walkthrough Guide, including the Achievement segment.
Chapter One
Scene One: Discovering Hidden Treasures
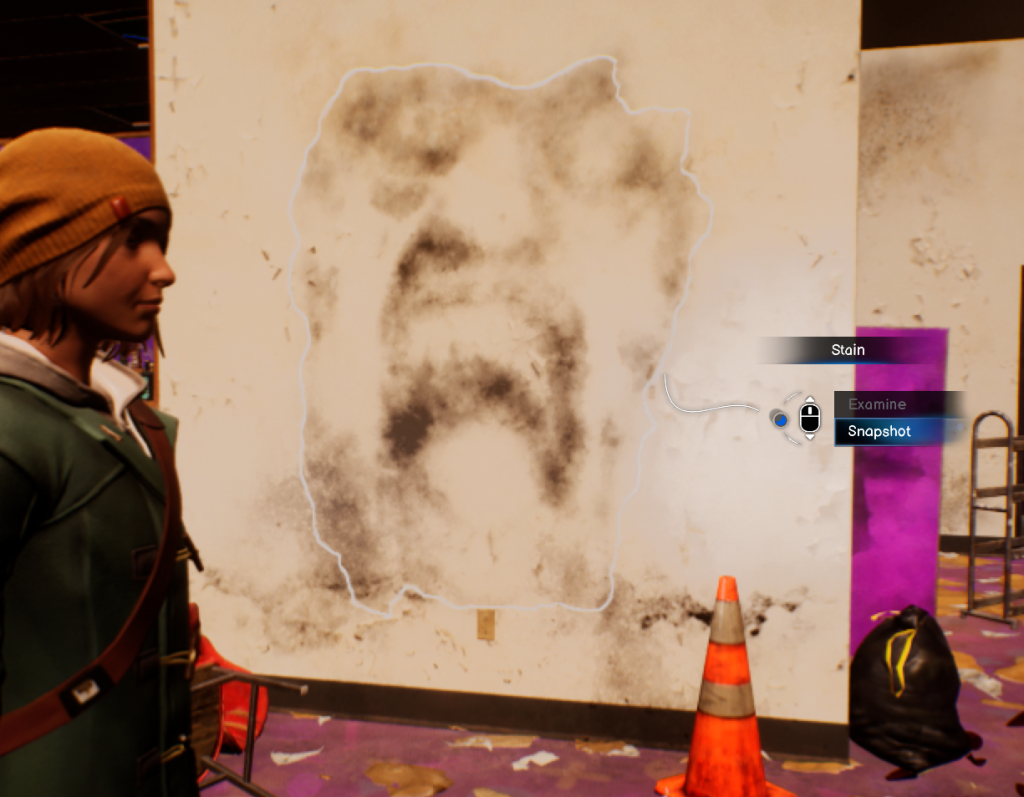
In the eerie ambiance of the abandoned bowling alley, your adventure begins. After snapping a photo of the dust-covered alcohol bottles, accompany your companion, Safi, as she investigates a peculiar molded wall. Don’t forget to take a photo—this will be crucial for an achievement later on.
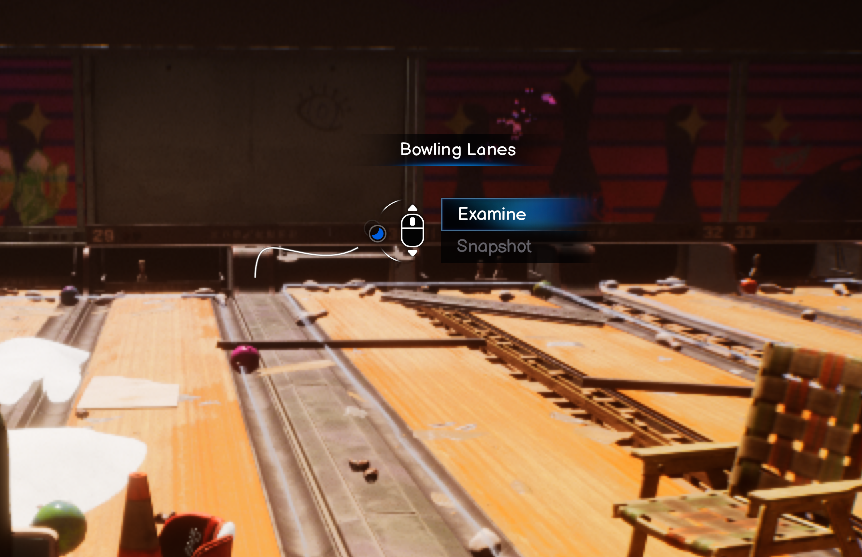
As you navigate through the chaos of discarded items, take a moment to observe the bowling lanes. Capture the scene with another photograph to keep your achievement streak going!
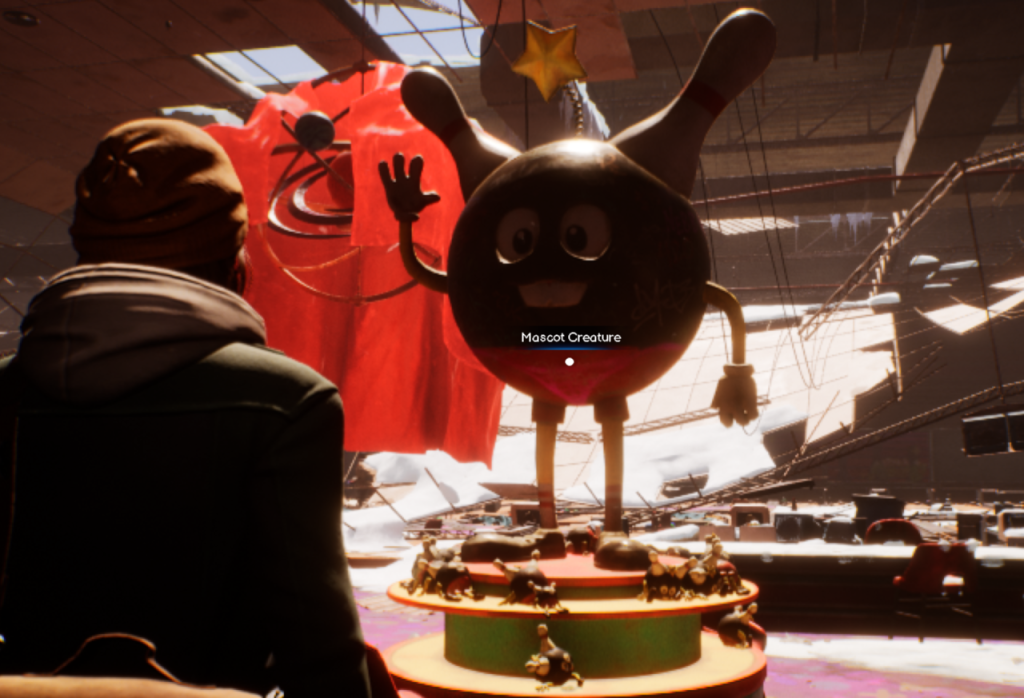
Next, wade through the remnants of a forgotten era until you reach the towering bowling mascot. Interact with him, then look down to find miniature versions—take one for your collection.
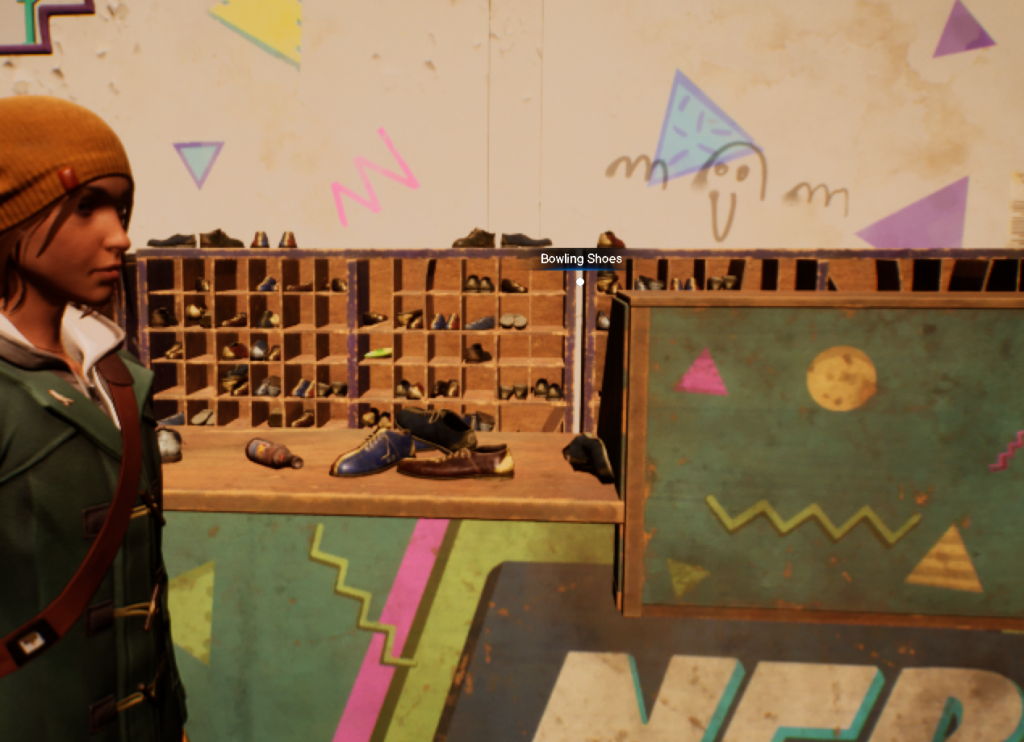
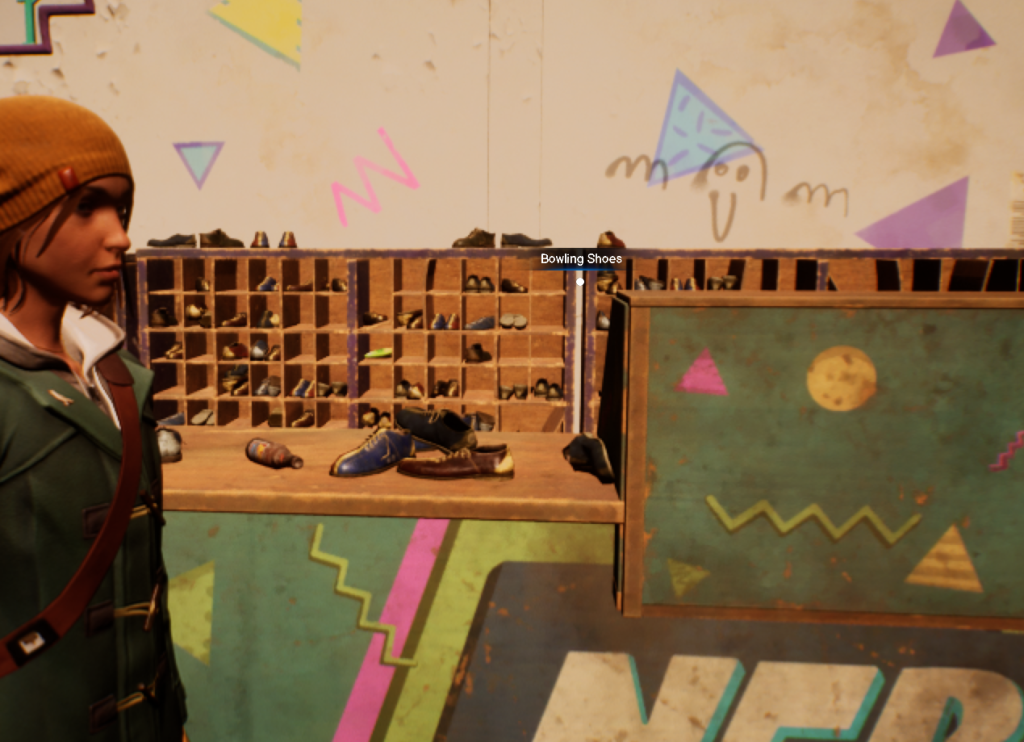
Before leaving this scene, turn your attention to the shoe rack behind the Nebula counter. A quick photo here will add another notch to your achievement belt.
Scene Two: Choices and Curiosities
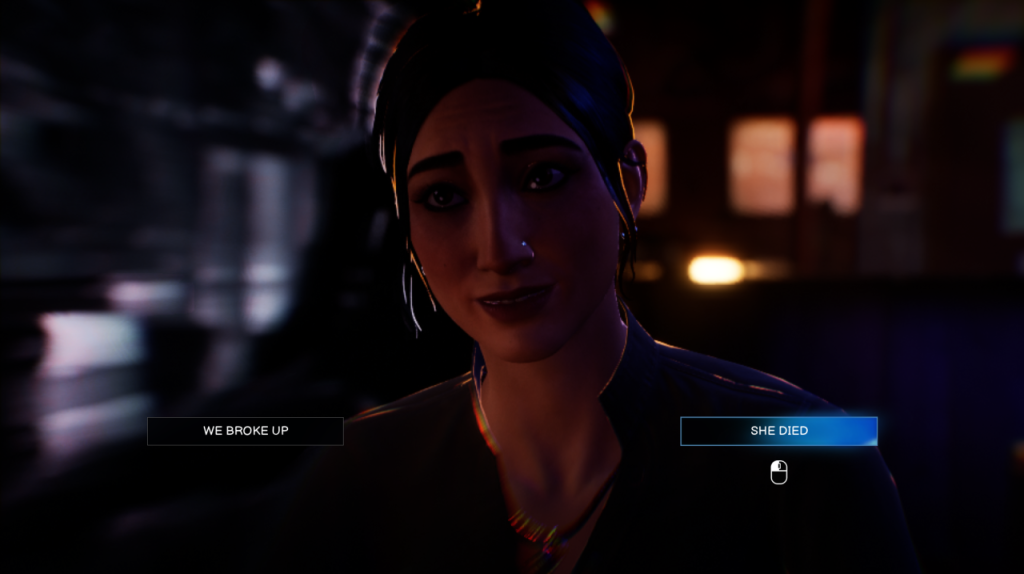
Bay or Bae: When Safi inquires about Chloe, you have two paths to choose from: for the “Bay” route, mention that she died; for the “Bae” route, explain that you broke up. Remember, you’ll need to replay the game twice to unlock all achievements.
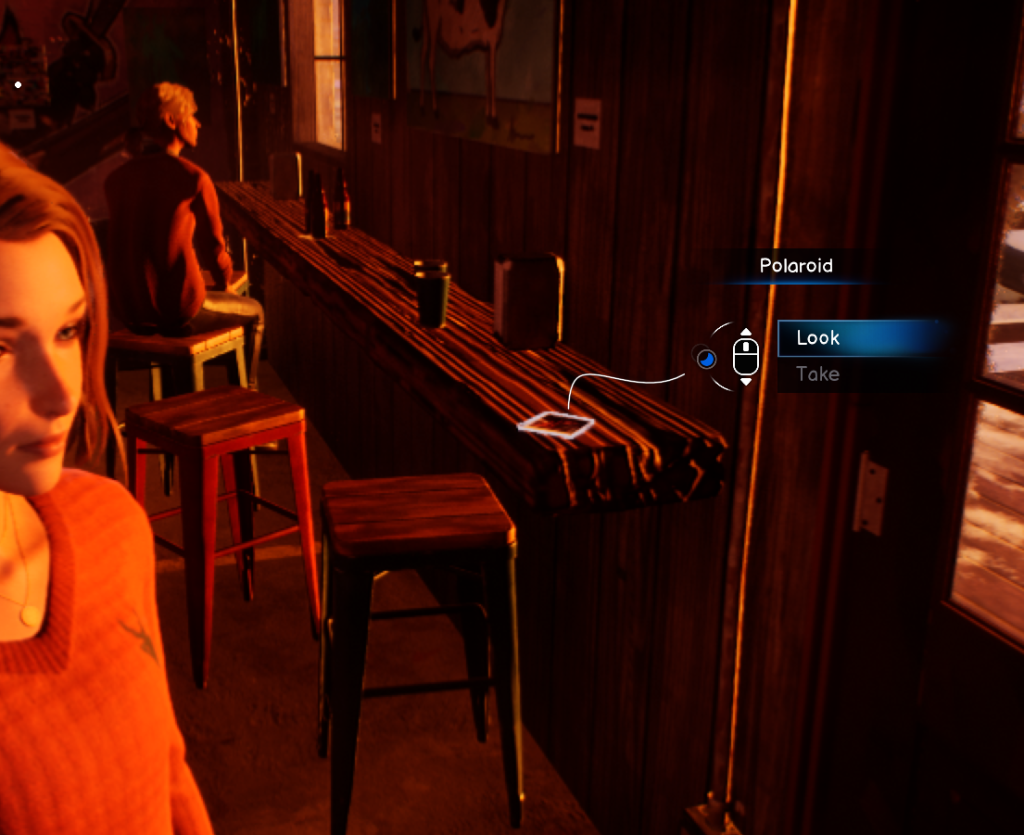
Next, head left towards the fireplace. On the wooden counter to your right, you’ll find a Polaroid waiting to be discovered.
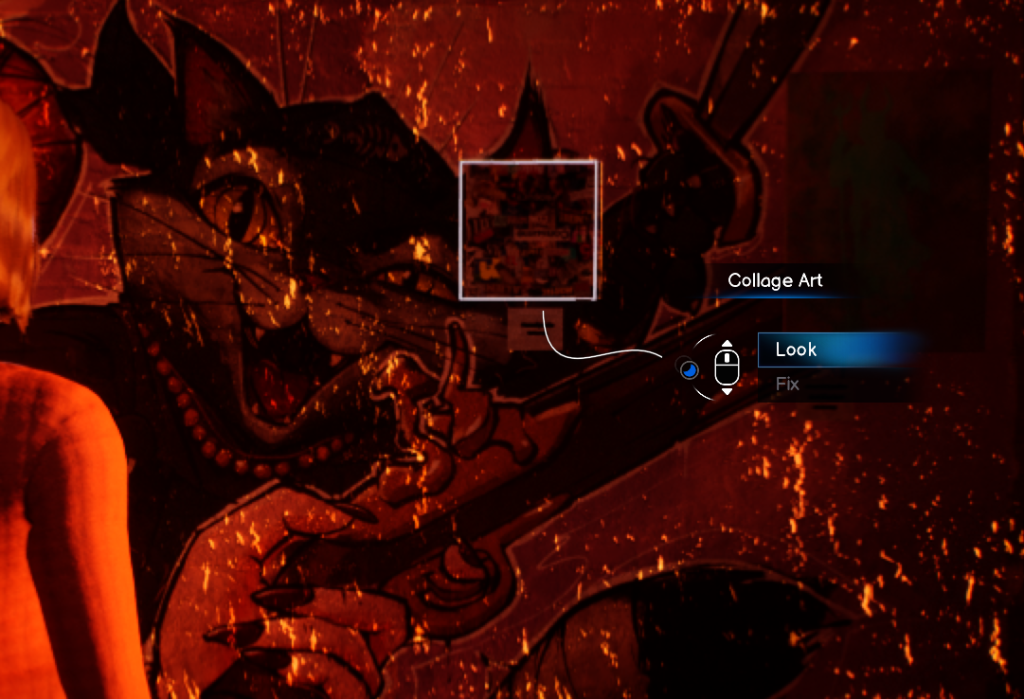
Look beside the stage for some artwork and a note taped to the wall. Read the note, then flip the upside-down picture of a tree. Make your way back to the fireplace area and check the art on the wall next to it for another upside-down piece.
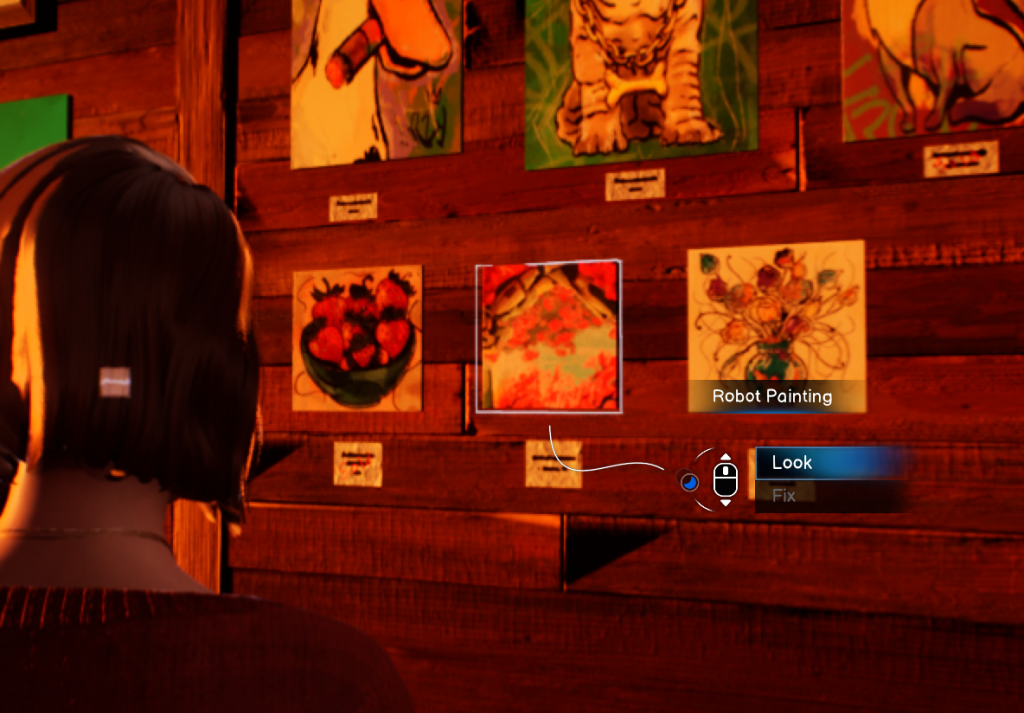
Now, stroll past the bar to the seating area, where you’ll find two chairs. Slip between them and flip the robot painting for yet another photo opportunity.
Scene Three: Interactions and Intrigue
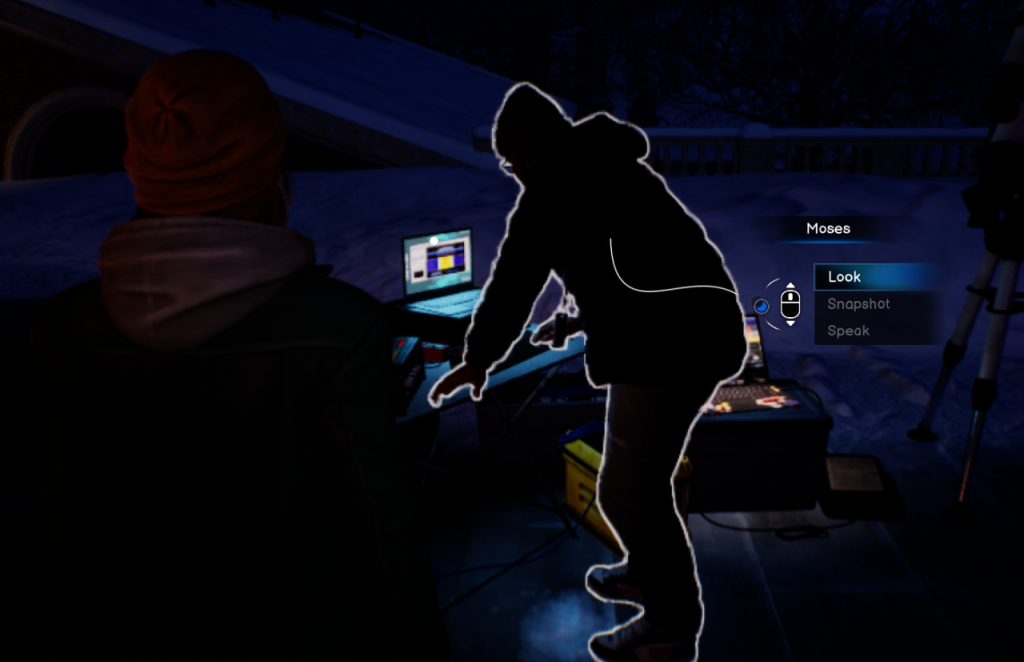
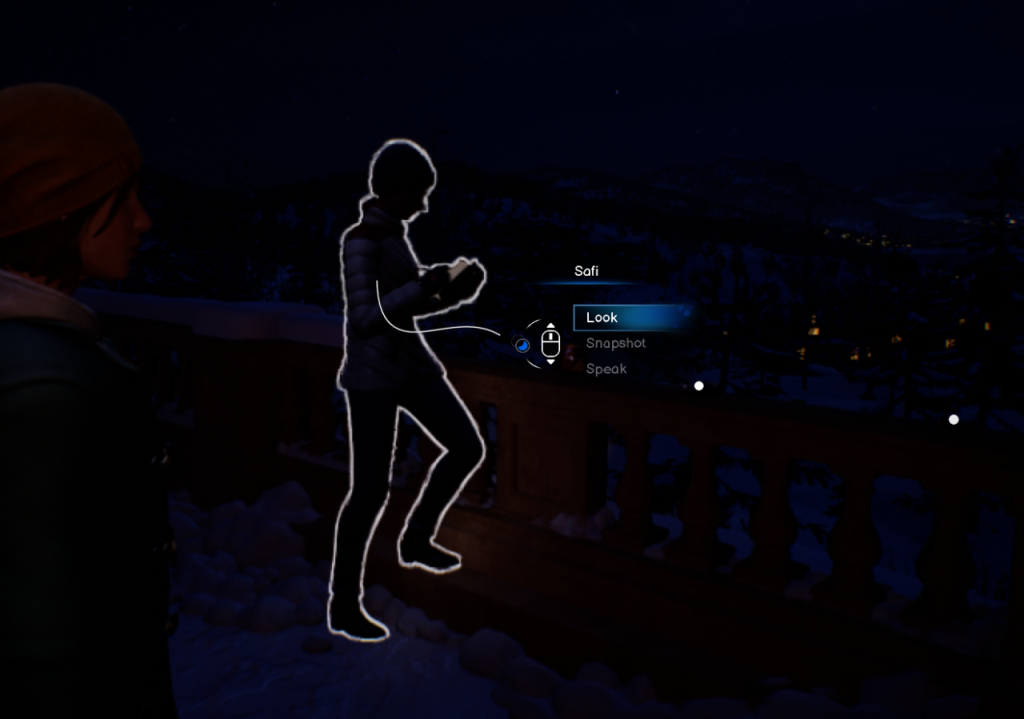
After a brief cutscene, approach Moses and capture a photo for later use. Then, head over to Safi and snap another shot.
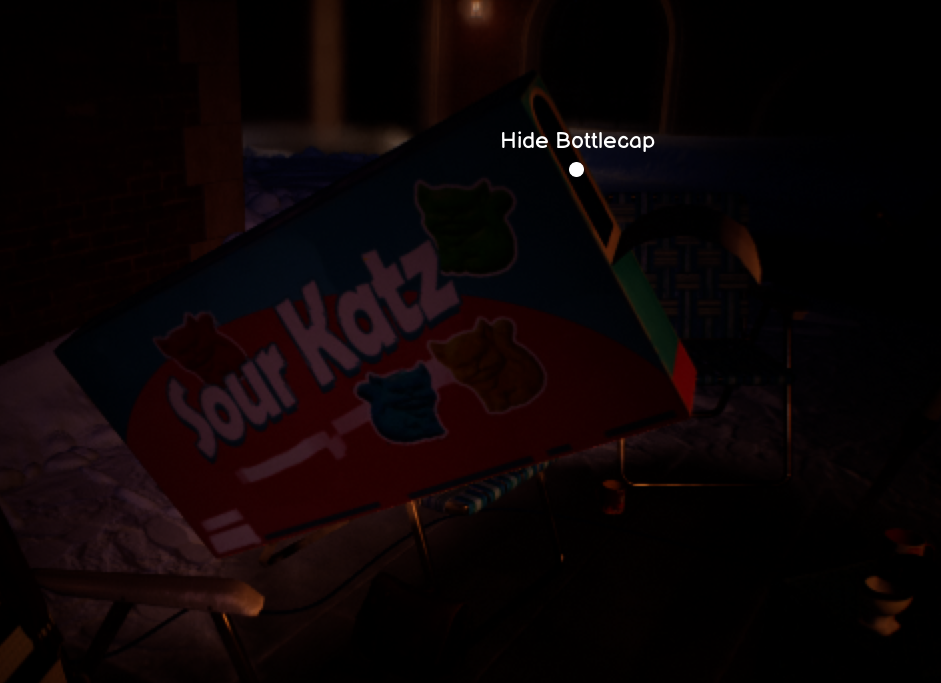
Once you finish your conversation with Moses, you’ll have the chance to slip a bottle cap into Safi’s candy, unlocking the achievement “Putting the ‘Cap’ in ‘Caper.'”
After Safi departs, venture outside to start your walk home. As you proceed, you’ll reach a fork in the path; head straight to grab a Polaroid before continuing your journey.

Scene Four: Home and Reflection
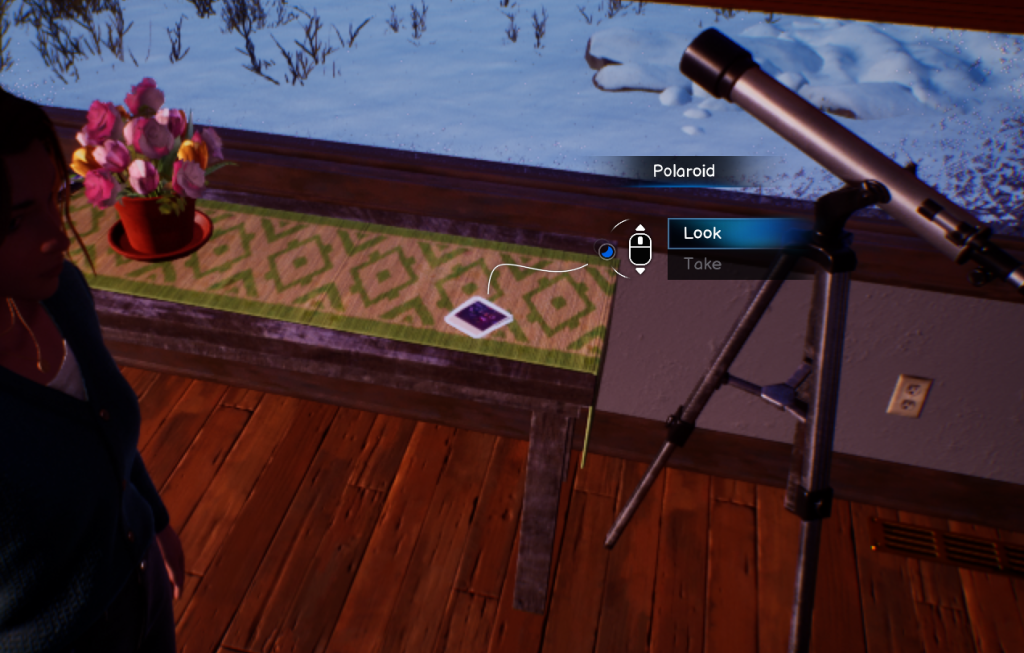
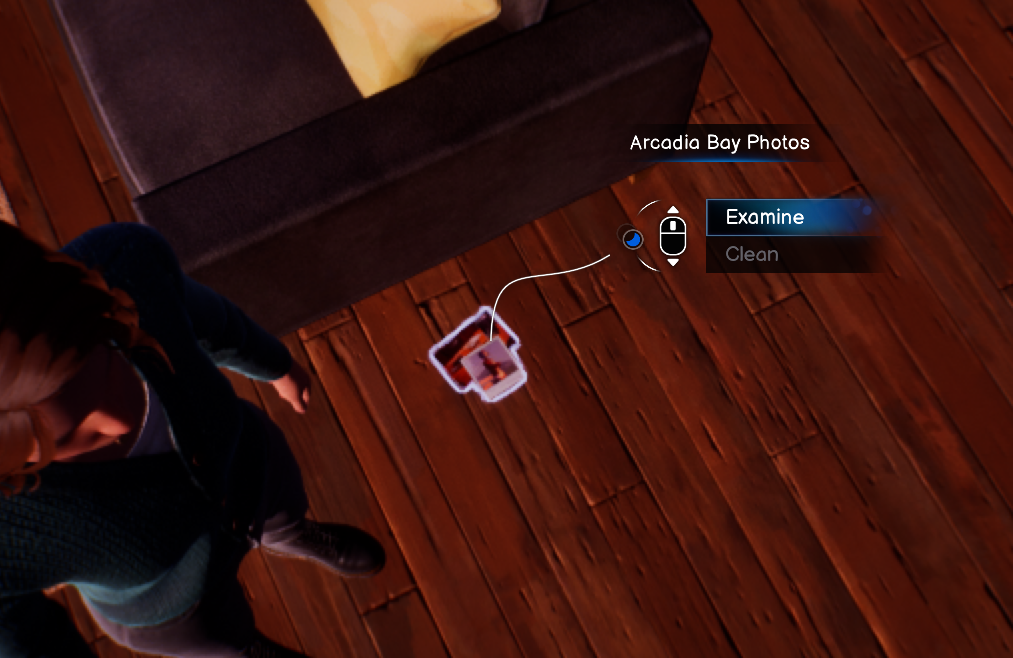
Descend the stairs to find a Polaroid resting on a table adorned with flowers to the right of the couches. After tidying up your surroundings, retrieve the pictures from under the memories box you collected earlier and add them to your photo wall to earn another achievement.
Scene Five: Puzzles and Revelations
As you walk past Reggie, a cutscene unfolds. Pick up the box he tossed, then examine it closely. Turn it over to reveal the founder’s statue, flip it again to see a bird, and have Reggie melt the wax off. Position the bird on the opposite shoulder of the founder to unlock the first layer.
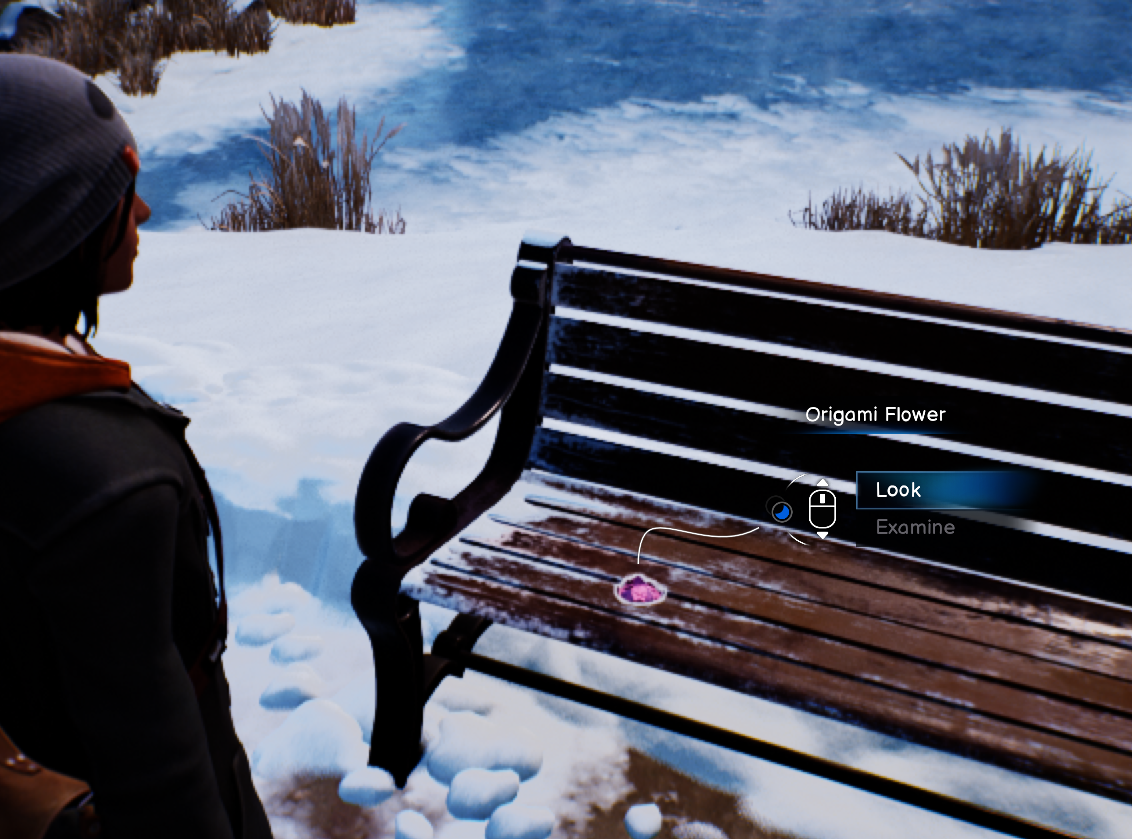
Approach the founder’s statue and interact with the origami on the closet bench. Unfold it completely to collect another achievement.
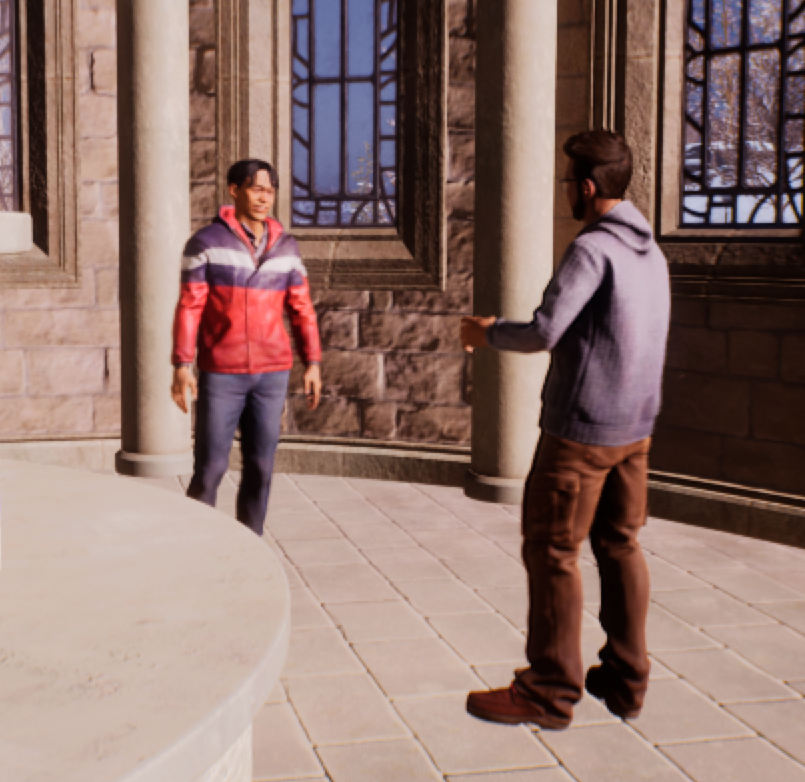
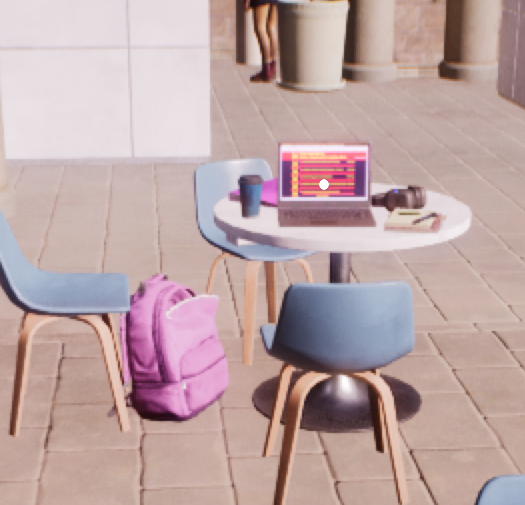
Inside the arts building, head right towards the café to find an open laptop. Click on it to read about the latest podcast.
Next, listen in on a conversation between two individuals next to the Admin building, ensuring you capture the entire discussion for completeness.
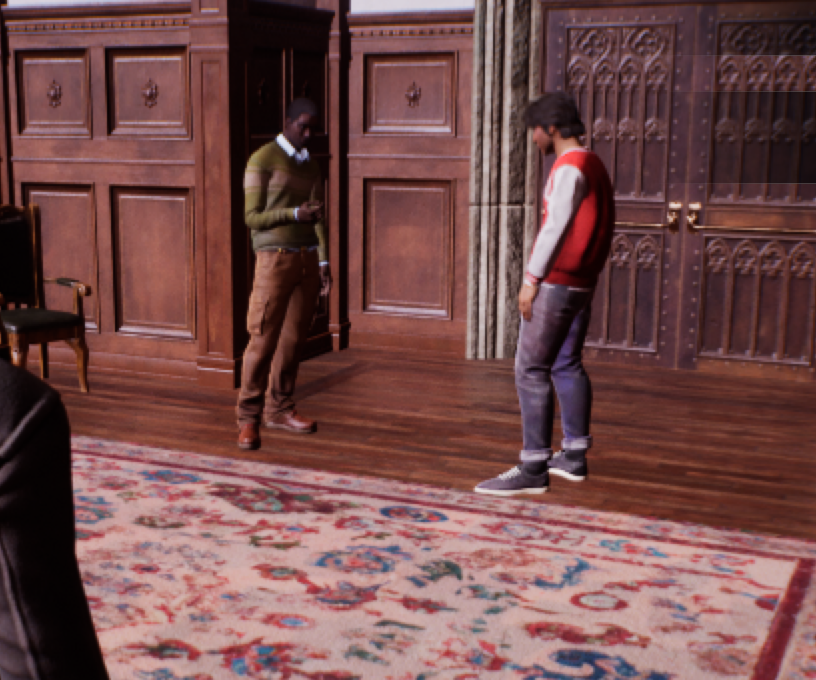
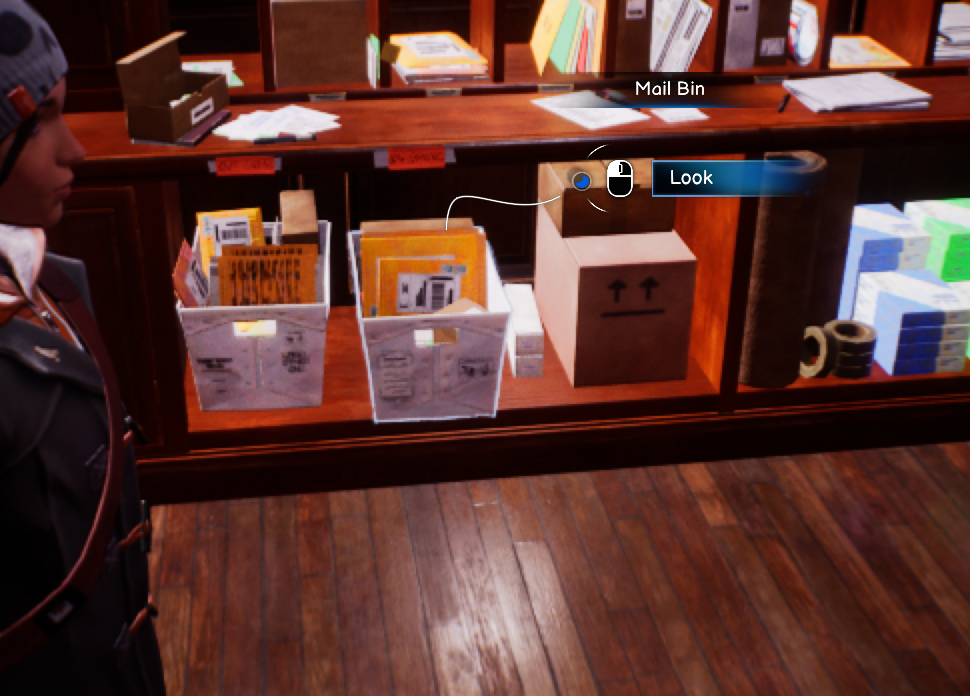
Talk to Vinh and retrieve his package from the mailroom (the first door down the left hallway) to earn the achievement “Mail Gaze.”
After your chat with Yasmin, return to the arts building and opt not to speak during Loretta’s podcast.
Finally, at the table adorned with roses, take one and listen as the Abraxas guy thanks you, earning the “Clutterbug” achievement.
Chapter Two: The Journey Continues
Note: Ensure to capture every photo with double exposure in this chapter!
Scene One: Beginnings and Discoveries
Immediately following the cutscene, turn to Safi and Yasmin to take a photo (remember to press D for double exposure).
Once you transition to the dead world, head to the closet beside the turtle mural to find a Polaroid waiting for you.
After conversing with Safi and Yasmin in the living world, step onto the patio to eavesdrop on a conversation. Return indoors and switch to the dead world to listen in on their otherworldly discussion.
Scene Two: Conversations and Interactions
Stroll along the second bridge until you spot Snow David. Snap a photo with double exposure.
Continue walking until you switch back to the living world and approach the group near the footprints. Listen carefully to their entire conversation, particularly noting the last line: “We need some time apart.”
Keep moving until you discover the romantic sculpture—interact with it before grabbing the Polaroid from the undercover tables next to the graffiti-covered rock.
Circle back in front of the Admin building and engage with the squirrel before signing up for platypus facts at the poster on a nearby tree.
Enter the Admin building and chat with the girl examining the photos. Next, head to the stress relief basket next to the stairs, where you can take a therapist card.
In the library, collect mustaches from the three busts. Switch to the dead world and listen to the guys on the couch; their final line should be, “Don’t bring Hemingway into this.” Leave the therapist card in the sticker area.
Proceed to the FAB and eavesdrop on two girls’ conversation, noting their last line: “You and me, we’re going to be Caladon legends.”
Finally, approach Lucas and listen to his exchange with Robbie. Even if interrupted, it should still count for your achievement.
Scene Three: Capturing Moments
Once back in the living world, return to the tree and take a photo of the bear mug nestled within its branches.
After speaking with Gwen at the lookout, choose to save the footage instead of allowing her to burn it. When she departs, grab the Polaroid resting on the nearest bench.
Scene Four: Unveiling Secrets
After your conversation with Moses in the living world, return to the dead world to collect the Polaroid next to his 3D printer. Interact with the mural before heading upstairs to take another photo.
When the detective asks to speak with you, agree to share your insights.
Scene Five: Interactions and Revelations
In the living world, water the giant plant in the corner of the living room to earn the “Thirst Trap” achievement.
Switch back to the dead world and search the kitchen for the puzzle box. Adjust the stars to create constellations as instructed, then align the dials correctly.
Head over to the CD player near the couches in the living world to capture another Polaroid. During your conversation with Moses, respond that you didn’t actually mean your previous answer to earn the “Be Great, Do Crimes!” achievement.
Chapter Three: The Final Stages
Note: As before, remember to capture every photo with double exposure in this chapter!
Scene Two: Capturing Nature
Before Moses arrives, take a photo of the flowers arranged in the shape of Safi’s body.
Scene Three: Hidden Moments
Approach the windows behind the tree for a snapshot, then find the purple cushions on the opposite side of the tree for another photo opportunity. In Gwen’s office, capture the record player.
In the dead world, visit the café and grab the Polaroid from the furthest table. Switch to Vinh’s desk to take a photo of the hedgehog, and don’t forget to grab the Polaroid from his coffee table.
In Lucas’s office, snap a photo of the typewriter, and next to it, take the Polaroid located by the golden typewriter.
Scene Four: Encounters and Choices
In the living world, head to the fireplace area and find a Polaroid on the barrel table. After talking to both Amanda and Vinh, your choices will determine various achievements. Make sure to take a photo of both of them afterward, using double exposure.
Scene Five: Final Discoveries
Switch to the dead world and approach the giant plant to find another Polaroid on the table beside it.
Chapter Four: The Climax
Note: Remember to capture every photo with double exposure, then replay to do them normally!
Scene One: Quiet Moments
After the initial cutscene, head upstairs to pet your cat if you have the DLC. This will unlock the achievement “Heavy Petting.” Be sure to snap a photo of the cat afterward.
Transition to the dead world and retrieve the Polaroid from the table opposite the plant.
Scene Two: Festivities and Fun
Approach the left of the Christmas tree to photograph the individual in the Krampus mask. Interact with the stage, then step back to capture a shot from the floor.
On the patio, talk to Moses and Diamond in the first booth, then take their photo. Afterward, read the flyer on the wall and scan the QR code if you have the DLC for the achievement “Nothing Ever Lasts Fur-ever.”
Switch to the dead world to find a Polaroid behind the stage, then return to the living world and examine Safi’s gingerbread house before talking to Saif. Bring the chimney back to Moses and take a photo afterward.
On the patio, grab the Polaroid from the green deck chair before talking to Lucas.
Scene Three: Final Steps
After the cutscene, head straight to the undercover area next to the graffiti-covered rock to collect the Polaroid waiting on the left table.
Chapter Five: The Conclusion
Note: Once more, take every photo with double exposure, then play again for the normal shots!
Scene Three: Last Shots
At the lookout, take the final Polaroid.
Scene Four: Last Glances
Turn right to grab the Polaroid on the wall.
Scene Six: Final Collection
Switch to the other world and head to the table in front of the stage to retrieve the last Polaroid.
Scene Nine: Culmination of Achievements
Engage with Reggie and Loretta, then take photos of both of them with double exposure. Interact with the statue and position yourself slightly left for the final photo opportunity.
Once you return to the Snapping Turtle, converse with Amanda, Vinh, Diamond, and Gwen, capturing all their photos. After talking to Moses, you should unlock the “Frame Fatal” achievement.
And there you have it—a detailed guide through the hauntingly beautiful world of Alnico Smithery, where every corner holds a new discovery and every photograph tells a story.

