How to Set Up Your ROG Xbox Ally: Power, VRAM and Storage Settings That Matter
ASUS's own battery tests show power mode alone can swing runtime by hours on the ROG Xbox Ally. Here is every setting worth changing before your first session.

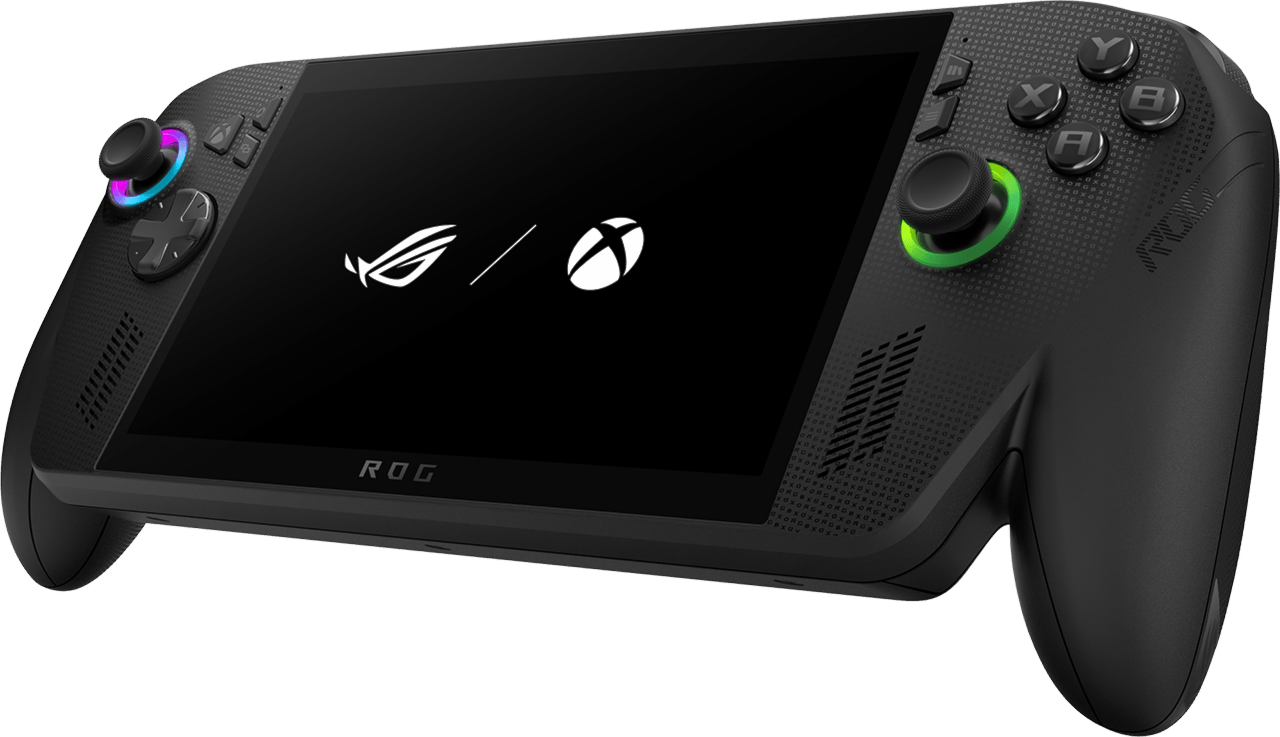
The ROG Xbox Ally and ROG Xbox Ally X ship with three preset power modes, a Windows desktop hiding underneath the Xbox-branded shell, and a settings menu spread across two different apps. None of the defaults are wrong, exactly, but ASUS's own guidance and the devices' published battery figures show real gains from a handful of changes made in the first sitting. Both handhelds launched on October 16, 2025 running AMD's Ryzen Z2 hardware under Xbox's full-screen interface, a joint project between ASUS and Microsoft that layers Xbox's console-style navigation over a standard Windows install. Here is what to touch first, sourced from ASUS's own product pages and support guides rather than guesswork.
Pick a Power Mode That Matches What You're Playing
Both handhelds default to three modes reachable from the hexagonal Command Center button on the left of the screen: Silent, Performance and Turbo, plus a custom Manual mode for fine-tuned wattage and fan curves. ASUS's own testing shows how much that choice matters. On the standard Xbox Ally, Silent mode runs the chip at 10W and stretched a full charge of the 60Wh battery to up to 5.4 hours in Hollow Knight: Silksong at 720p on low settings; switching to 15W Performance mode for Forza Horizon 5 at the same resolution cut that to roughly 2.3 hours.
The Ally X tells the same story at higher numbers. Its 80Wh battery lasted up to 9.9 hours in Silksong at 13W Silent mode, and up to 2.7 hours running Cyberpunk 2077 at 17W Performance mode. Turbo is the Ally X's default preset when the device is plugged into AC power, drawing 35W for the highest sustained framerates. The practical rule: leave handheld-friendly, lighter games in Silent, reserve Performance for anything demanding on battery, and only reach for Turbo when the charger is in.
Give Demanding Games More Graphics Memory
Both devices share their system RAM with the GPU rather than using dedicated video memory, and ASUS lets you move that split manually. Open Command Center, go to GPU Settings, and use the "Memory Assigned to GPU" dropdown to raise the allocation for a game that's stuttering or refusing to launch on the stock setting. ASUS is explicit that this change needs a reboot to take effect, so make it before starting a session rather than mid-game. It's worth reverting afterward for lighter titles, since memory pulled into VRAM isn't available to Windows and background apps.
The same GPU Settings screen also exposes CPU boost controls under the Eco Assist tab; disabling CPU boosting there is ASUS's own recommendation for pushing more of the power budget toward the graphics core in GPU-bound games, rather than a CPU that's already fast enough for the frame rate you're chasing. ASUS documents the full walkthrough, including where each toggle lives inside the app, in its own performance guide for the ROG Ally and ROG Xbox Ally.
Set Up Command Center and Game Bar the Way You'll Actually Use It
Press Y while inside Command Center to open its customization screen, where brightness control, an FPS limiter, GameVisual color profiles, the RGB toggle, and screenshot or recording shortcuts can be added or removed from the quick-access grid. On Xbox Ally models, the same Command Center button opens Armoury Crate SE directly, and it's worth a trip to its Settings tab and Update Center on first setup to pull down the latest firmware and app updates before anything else, since ASUS periodically expands power controls and fixes stability issues through that channel rather than a full system update.
Armoury Crate SE is also where per-game profiles live: highlight a title in the library, press X, and assign it its own operating mode and button mapping so a shooter can default to Turbo while a visual novel stays in Silent without manual switching every time. ASUS collects this and a dozen other first-boot steps, from fingerprint sign-in to Dolby Atmos, in its own setup and optimization guide.
Calibrate Sticks and Triggers Before You Start Remapping
Before assigning custom button layouts, set Control Mode to Auto in Command Center, then head into Armoury Crate's Settings and choose Configure under Control Mode to pick Gamepad Mode for supported games or Desktop Mode for general Windows navigation. From the same Settings > Calibrate screen, run the stick and trigger calibration once out of the box, then adjust dead zones, outer thresholds and sensitivity curves to taste. Analog trigger sensitivity and a Mirror Triggers option, which keeps both triggers reporting matched pressure levels, live in the same menu, alongside a Gyro tab that can map the handheld's motion sensor to mouse look, or to either analog stick.
A Few Small Fixes Worth Making While You're In There
A handful of settings live outside Command Center and Armoury Crate SE entirely but are still worth the detour. Built-in speaker and headphone audio benefits from opening the Dolby Access app on the Windows desktop and turning on Dolby Atmos under its Products tab, which both handhelds support out of the box. Anyone planning to play without a signal should also visit the Microsoft Store's profile settings and switch on offline permissions for each game, launching it once while online first; skip that step and a title bought digitally can refuse to start the moment Wi-Fi drops. Fingerprint sign-in, set up through Windows Settings under Accounts and Sign-In Options, turns the power button into a login shortcut and is worth the thirty seconds it takes to register a finger.
Plan Storage and Docking Before You Run Out of Room
Both handhelds take a microSD card from 512GB up to 2TB in the top slot for extra game installs, and ASUS's own guidance notes the internal M.2 SSD can be swapped for a faster NVMe drive up to 4TB if the built-in 512GB or 1TB is too tight. For a TV or monitor setup, ASUS points owners toward its own 100W Gaming Charger Dock, the ROG Bulwark Dock, or the ROG XG Mobile external GPU enclosure, the last of which is rated to carry an NVIDIA GeForce RTX 5090 for desktop-class graphics when the handheld is docked at a desk. A side-by-side rundown of both models' chipsets, RAM and release pricing is also collected on Wikipedia's ROG Xbox Ally entry, useful for comparing the two before deciding which settings apply.

None of these settings are hidden, exactly, but ASUS spreads them across Command Center, Armoury Crate SE and stock Windows menus rather than a single onboarding flow, which is why so many Xbox Ally owners never touch their GPU memory split or Eco Assist tab. Working through this list once, before the first long session, is the difference between the handheld ASUS advertised in its own battery-life testing and the one running every game in one power mode out of the box.
Official links
- ROG Xbox Ally product pagerog.asus.com
- ROG Xbox Ally X product pagerog.asus.com
- ASUS: 15 tips to set up and optimize your ROG Allyrog.asus.com
- ASUS: How to boost gaming performance on the ROG Allyrog.asus.com
- ASUS Support: Armoury Crate SE introductionasus.com
- Wikipedia: ROG Xbox Allyen.wikipedia.org
Lena tests the hardware that games run on, from handheld thermals to controller latency. If a spec sheet is doing something suspicious, she has already opened the device.